Creating OpenStreetMap Tiles
Table of Contents
How to Create Map Tiles
Allthough there are open street map tile servers, they are not intended for mass tile downloads. This article describes one way of hosting and downloading map tiles locally.
This is based on tilemaker, tileserver-gl and data in the format of *.mbtiles .
Create a working directory maps/. You can either follow the instructions of this tutorial, to create your own up to date *.mbtiles files or download one from here:
- https://data.maptiler.com/downloads/tileset/osm/ (latest free version is form 2017…)
If this is not up to date enough, keep reading…
Tilemaker
Build and install tilemaker. As this tool uses tons of RAM I recommend to run this natively, without docker.
Tilemaker (docker)
cd maps/
git clone https://github.com/systemed/tilemaker.git
cd tilemaker
docker build -t tilemaker .
Tilemaker (native, macOS)
brew install lua@5.1
brew install protobuf
brew install boost
brew install shapelib
brew install sqlite3
switch -std=c++11 to -std=c++14 in Makefile, then continue wi
tileserver-gl
The easiest way to run tileserver-gl is
docker run --rm -it -v /Users/paul/data/maps/:/maps/ -p 1080:8080 maptiler/tileserver-gl --mbtiles /maps/yourmap.mbtiles
tileserver-gl (custom styles)
Create a directory tileserver-gl-custom and add the following docker file:
FROM maptiler/tileserver-gl
LABEL maintainer="Paul Smith <code@uvwxy.de>"

ADD style.json /app/node_modules/tileserver-gl-styles/styles/basic-preview/style.json
Then add a custom style.json to create your custom styling into this folder:
Build the container in the directory with:
docker build -t tileserver-gl-custom .
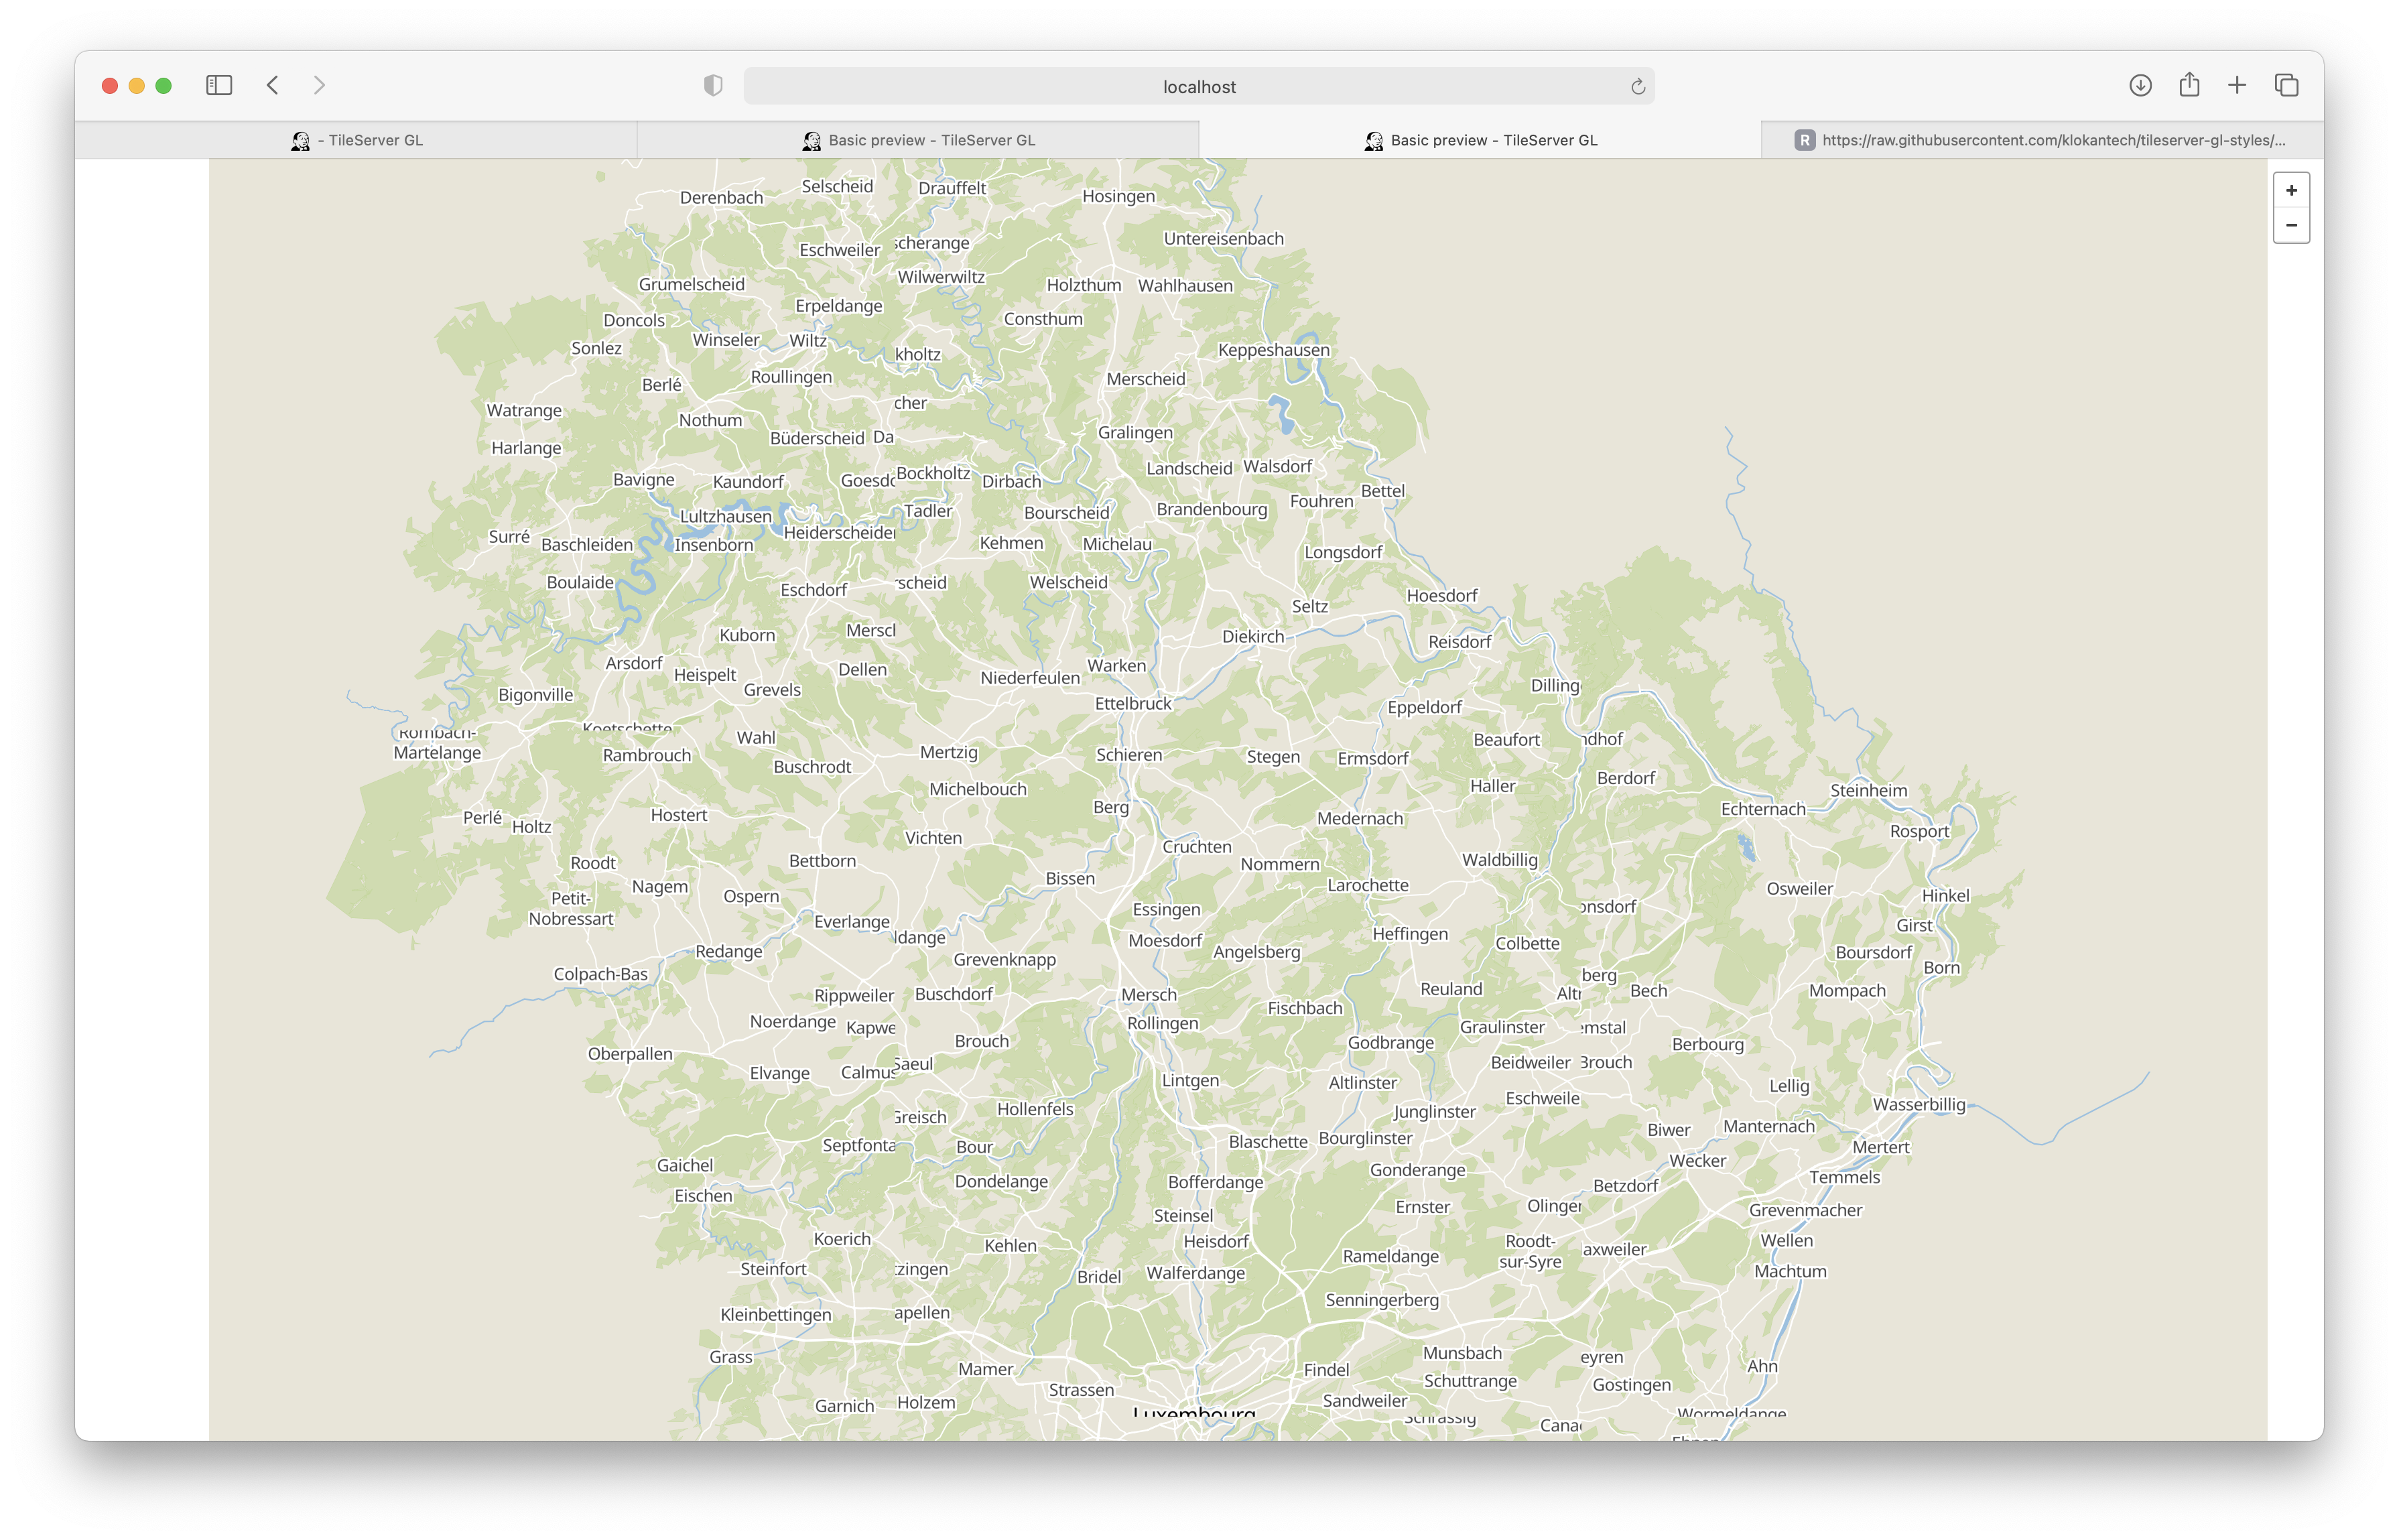
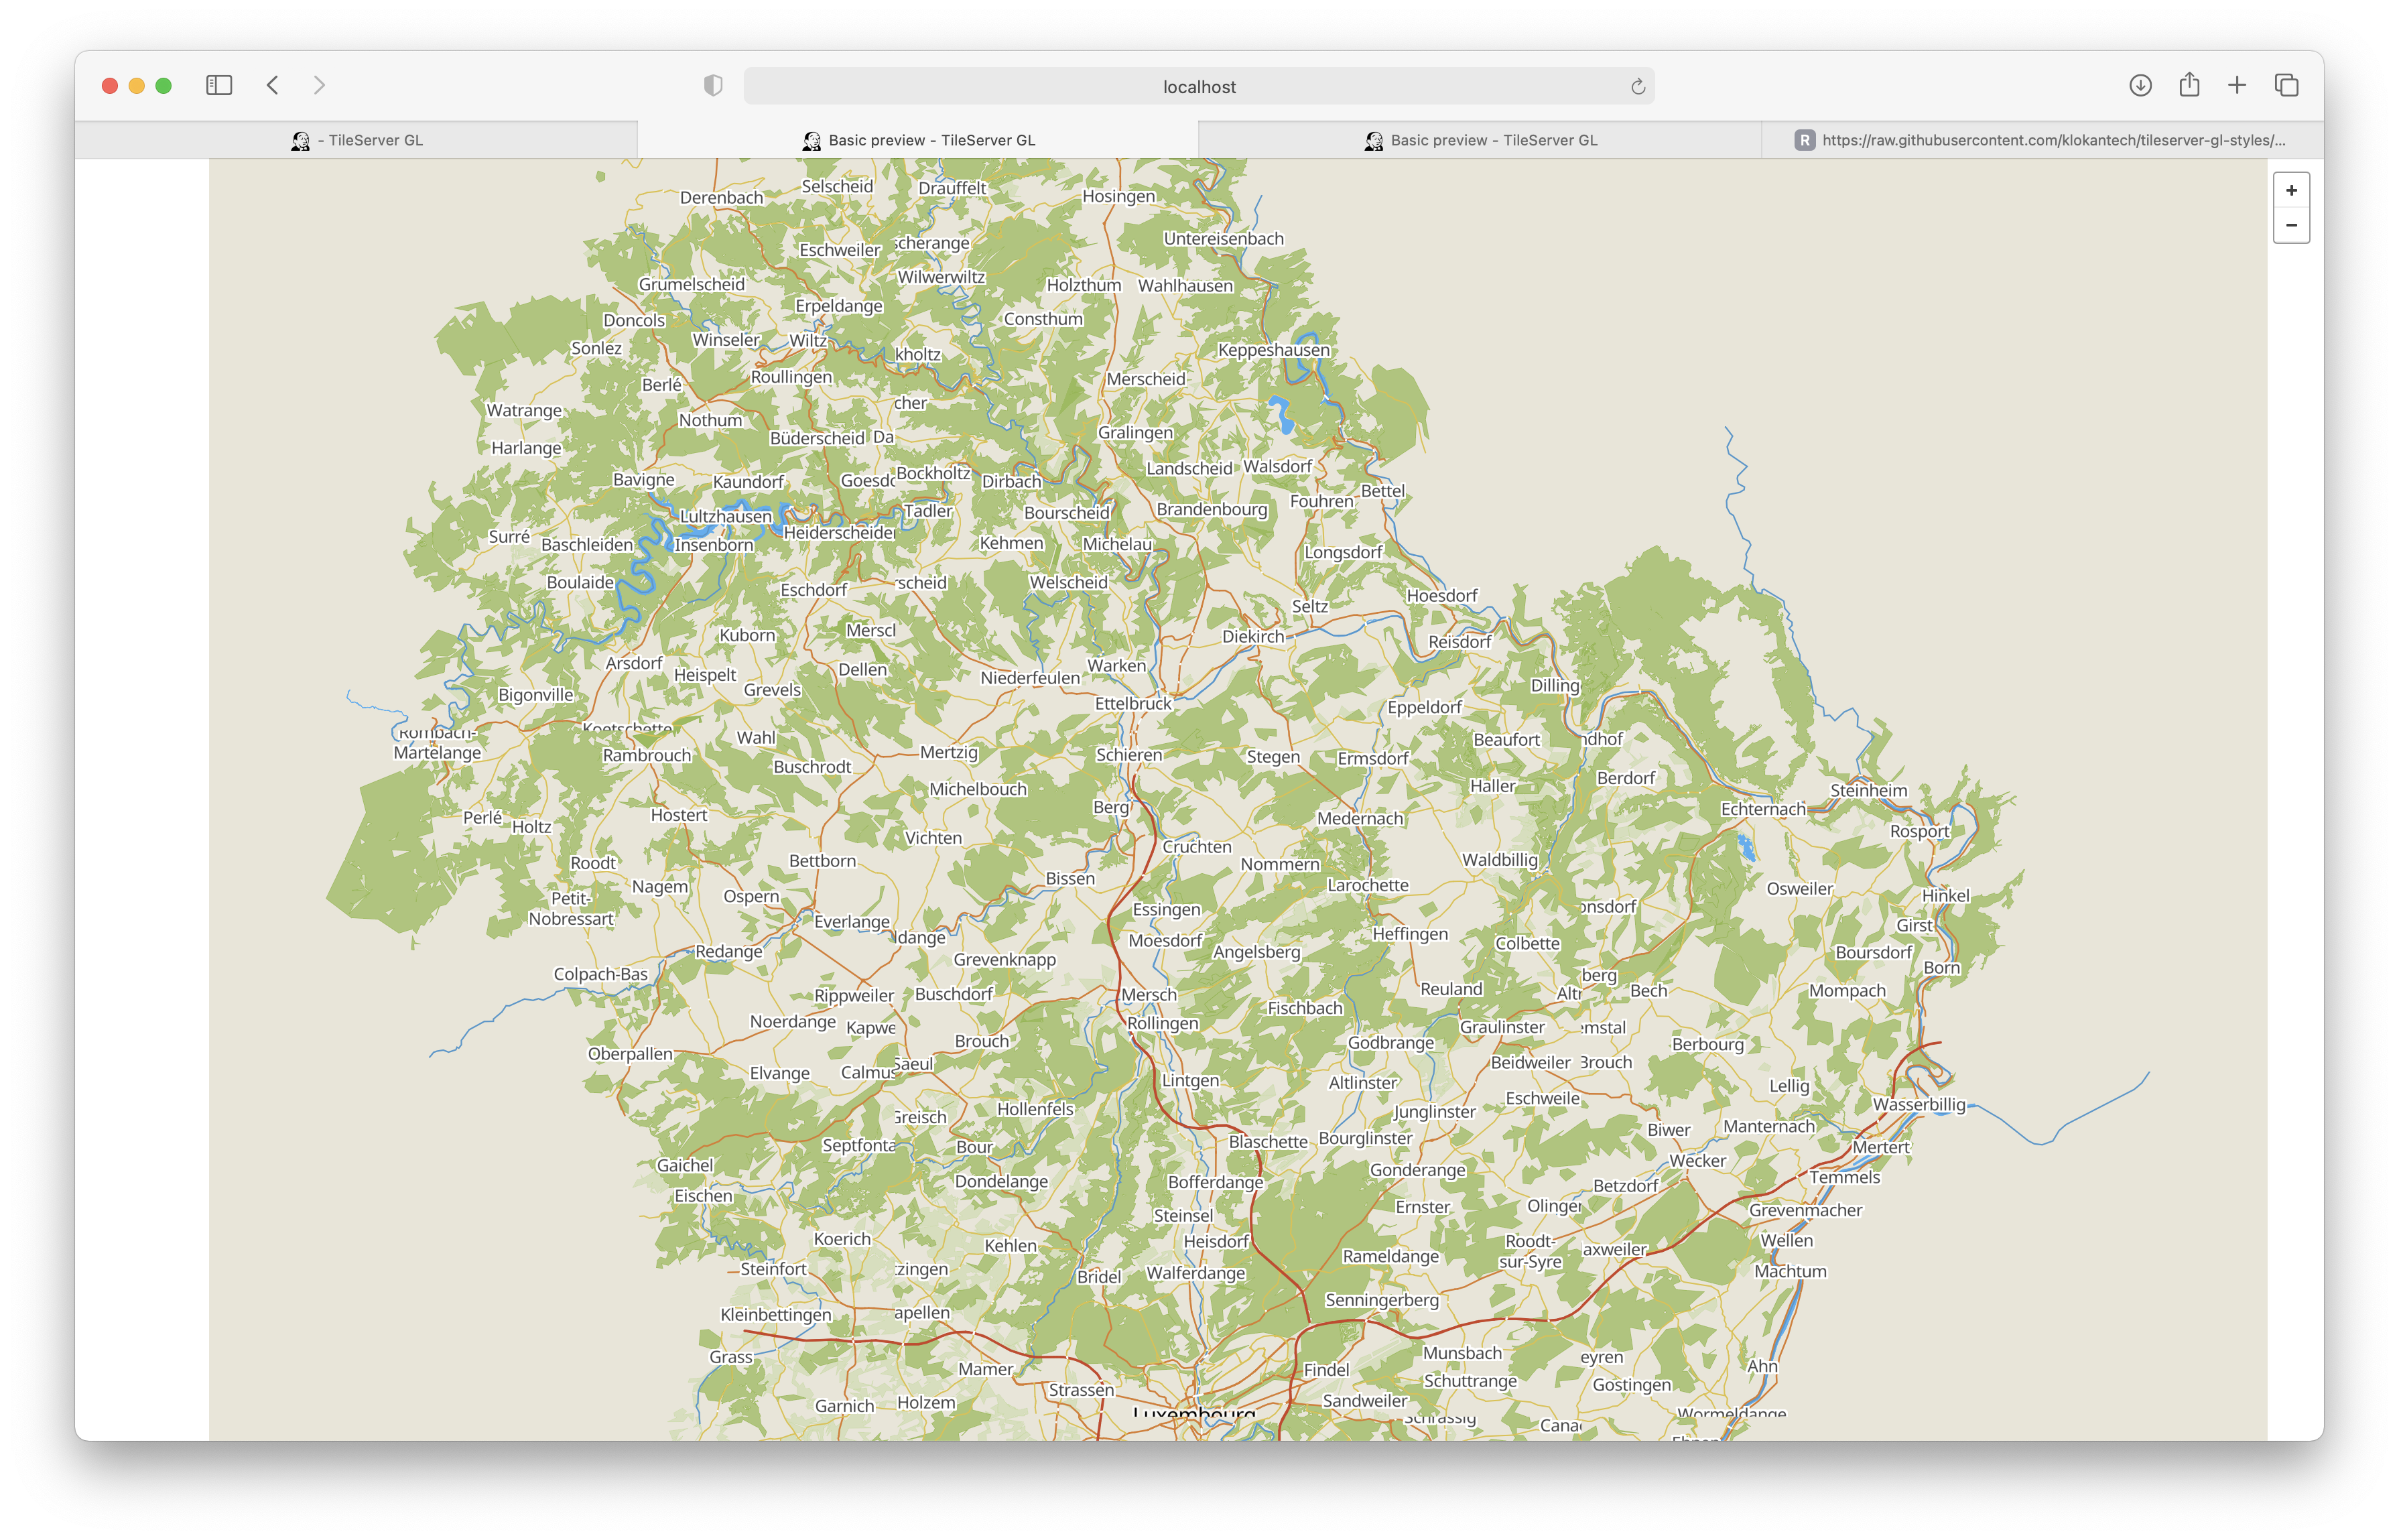
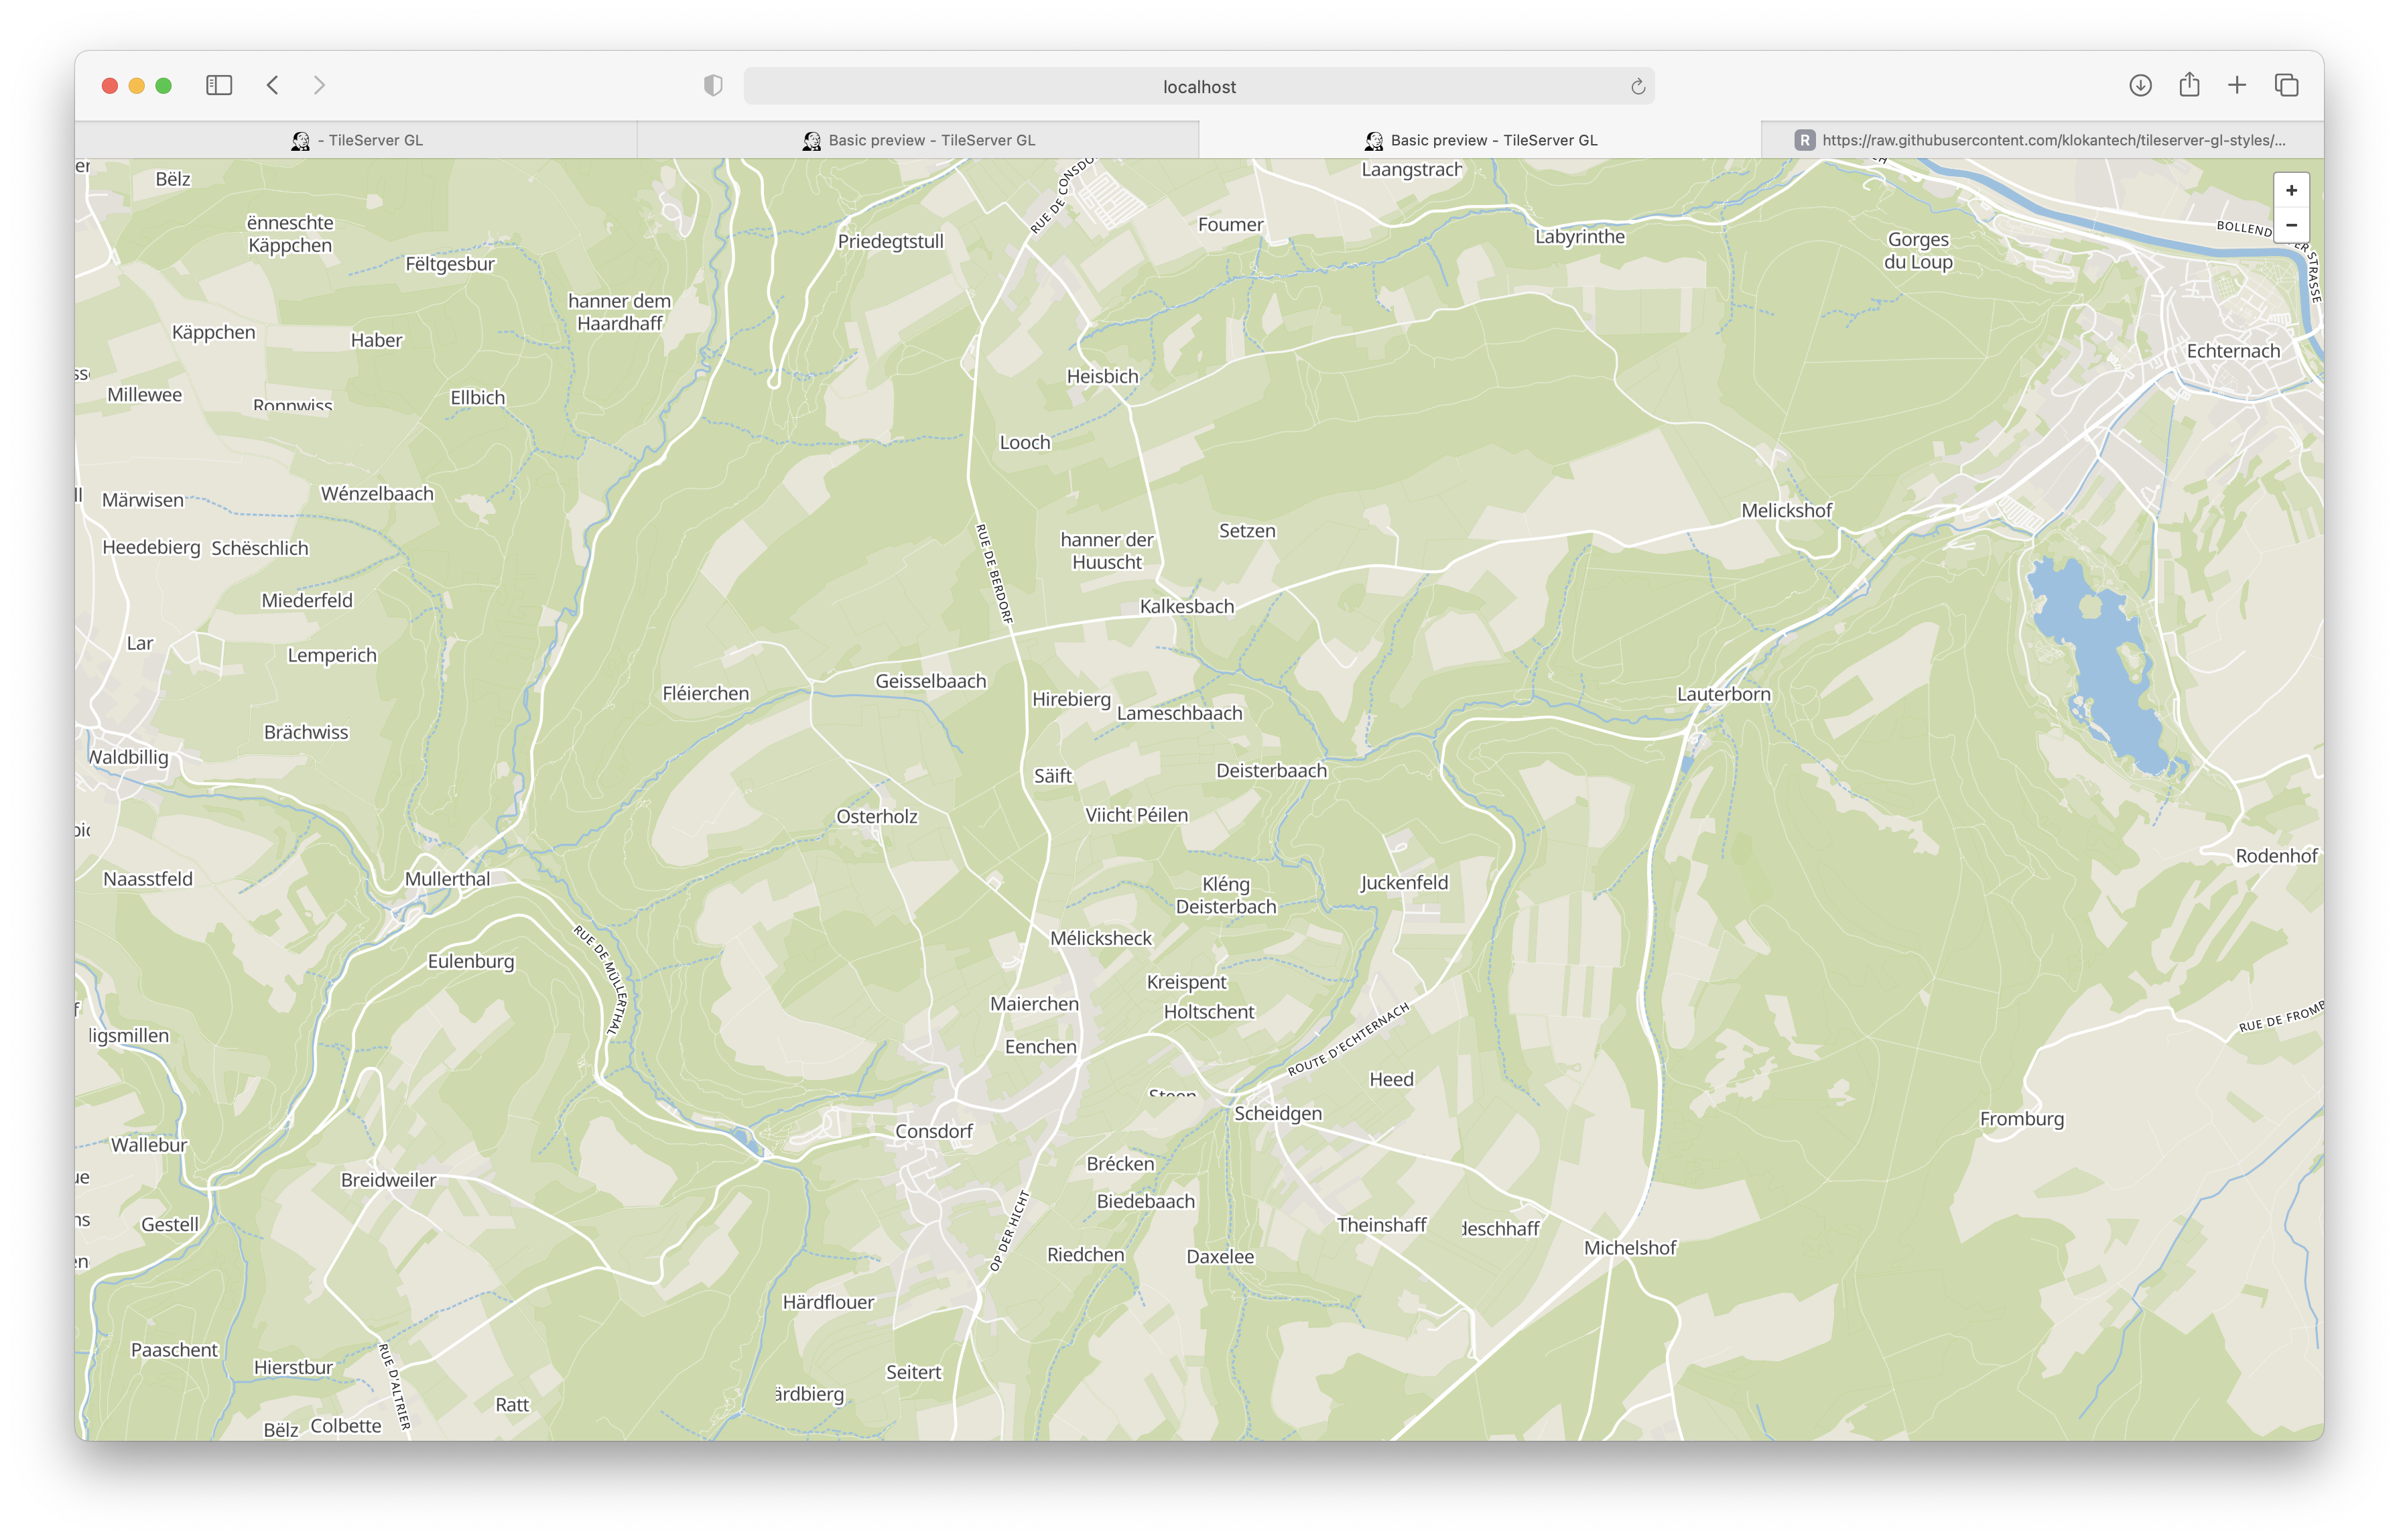
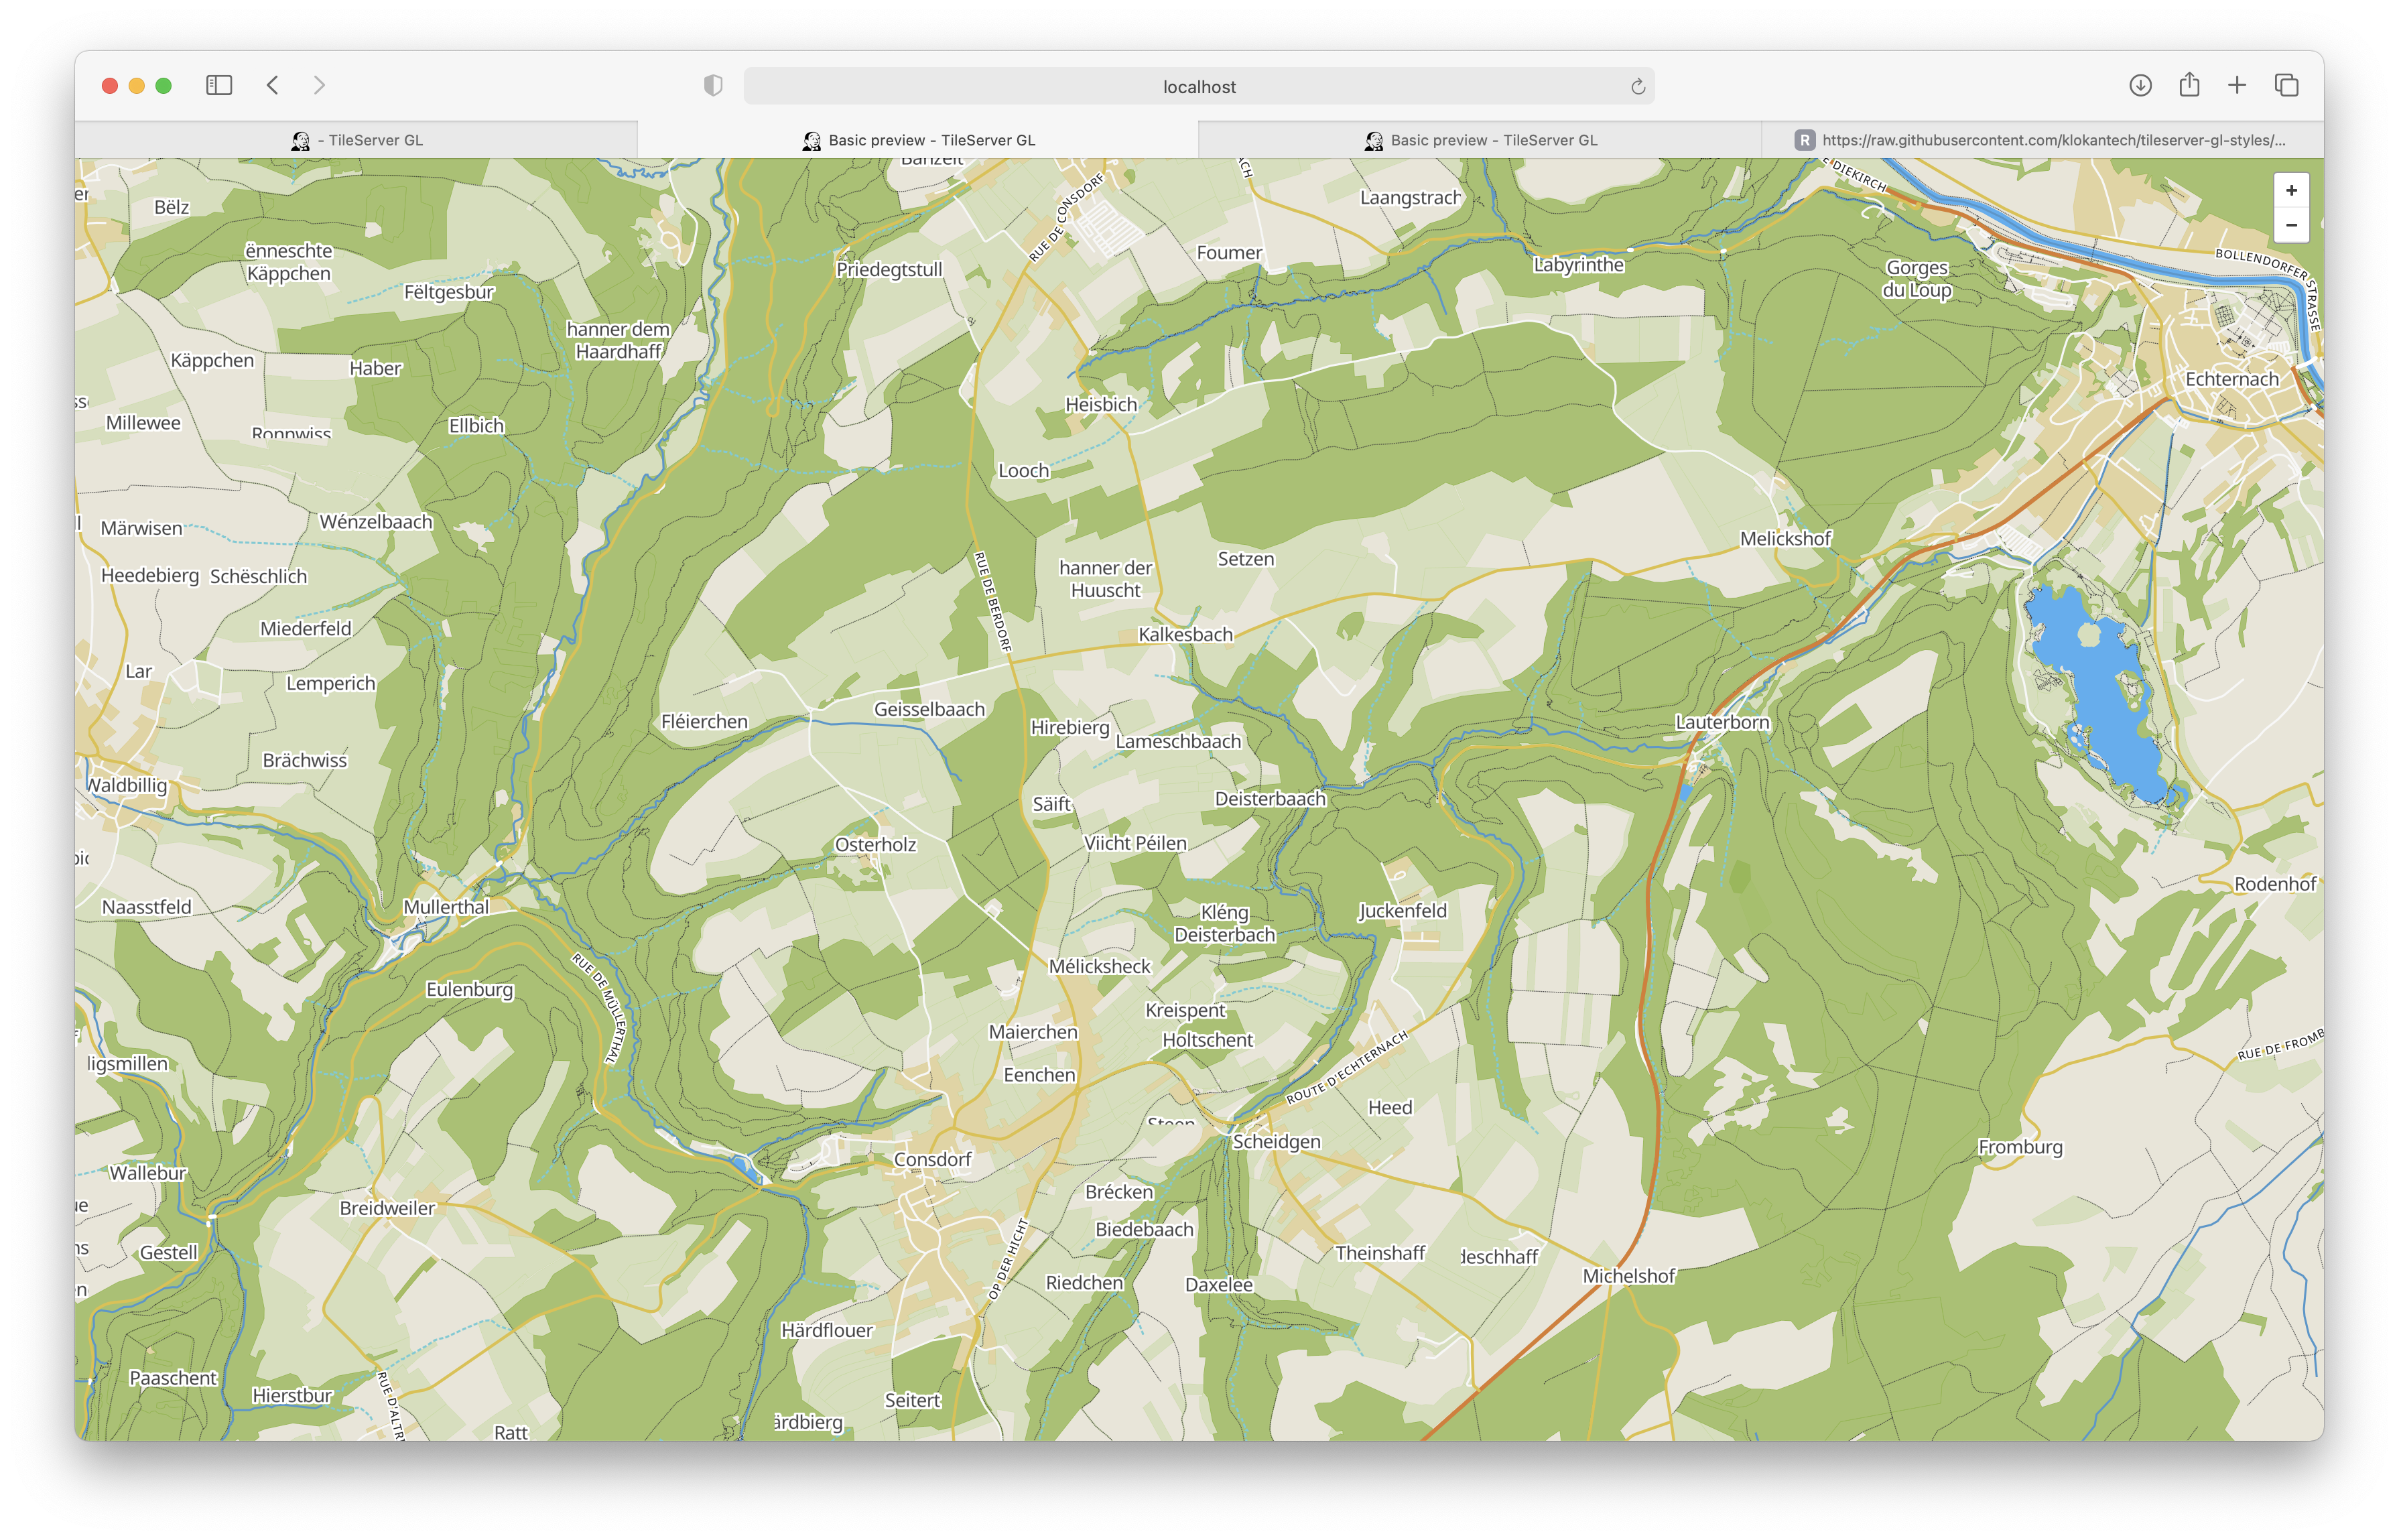
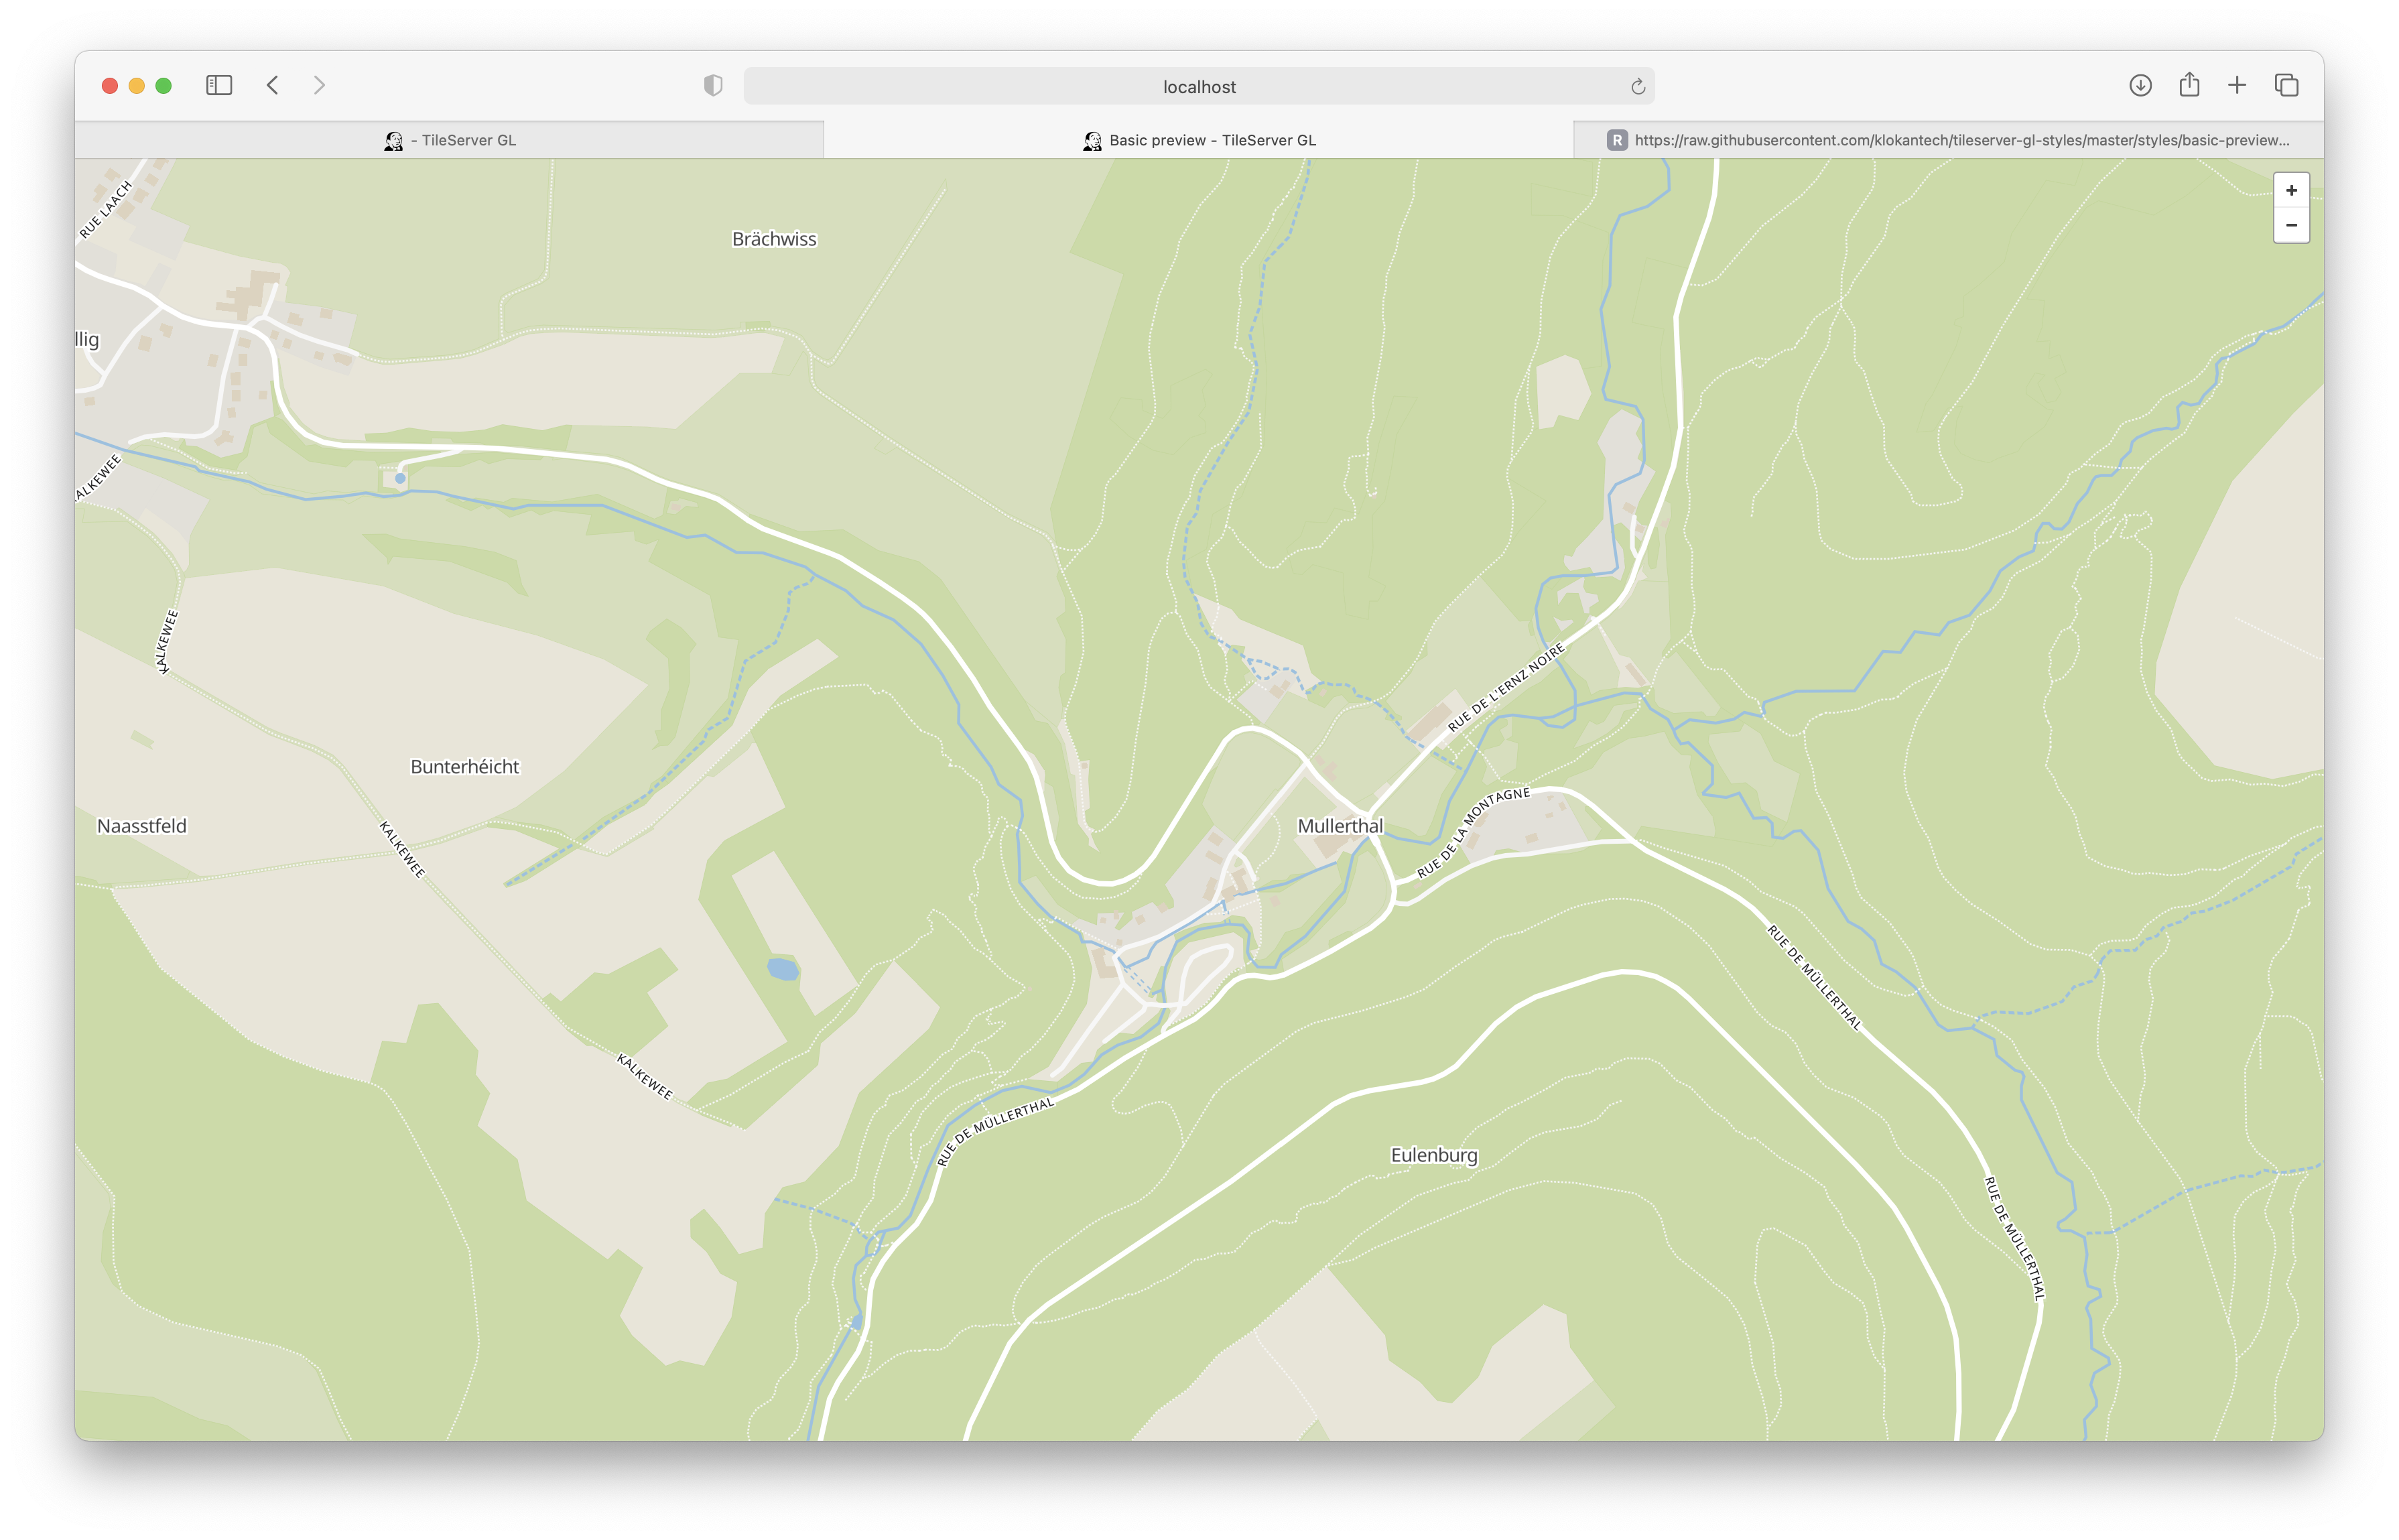
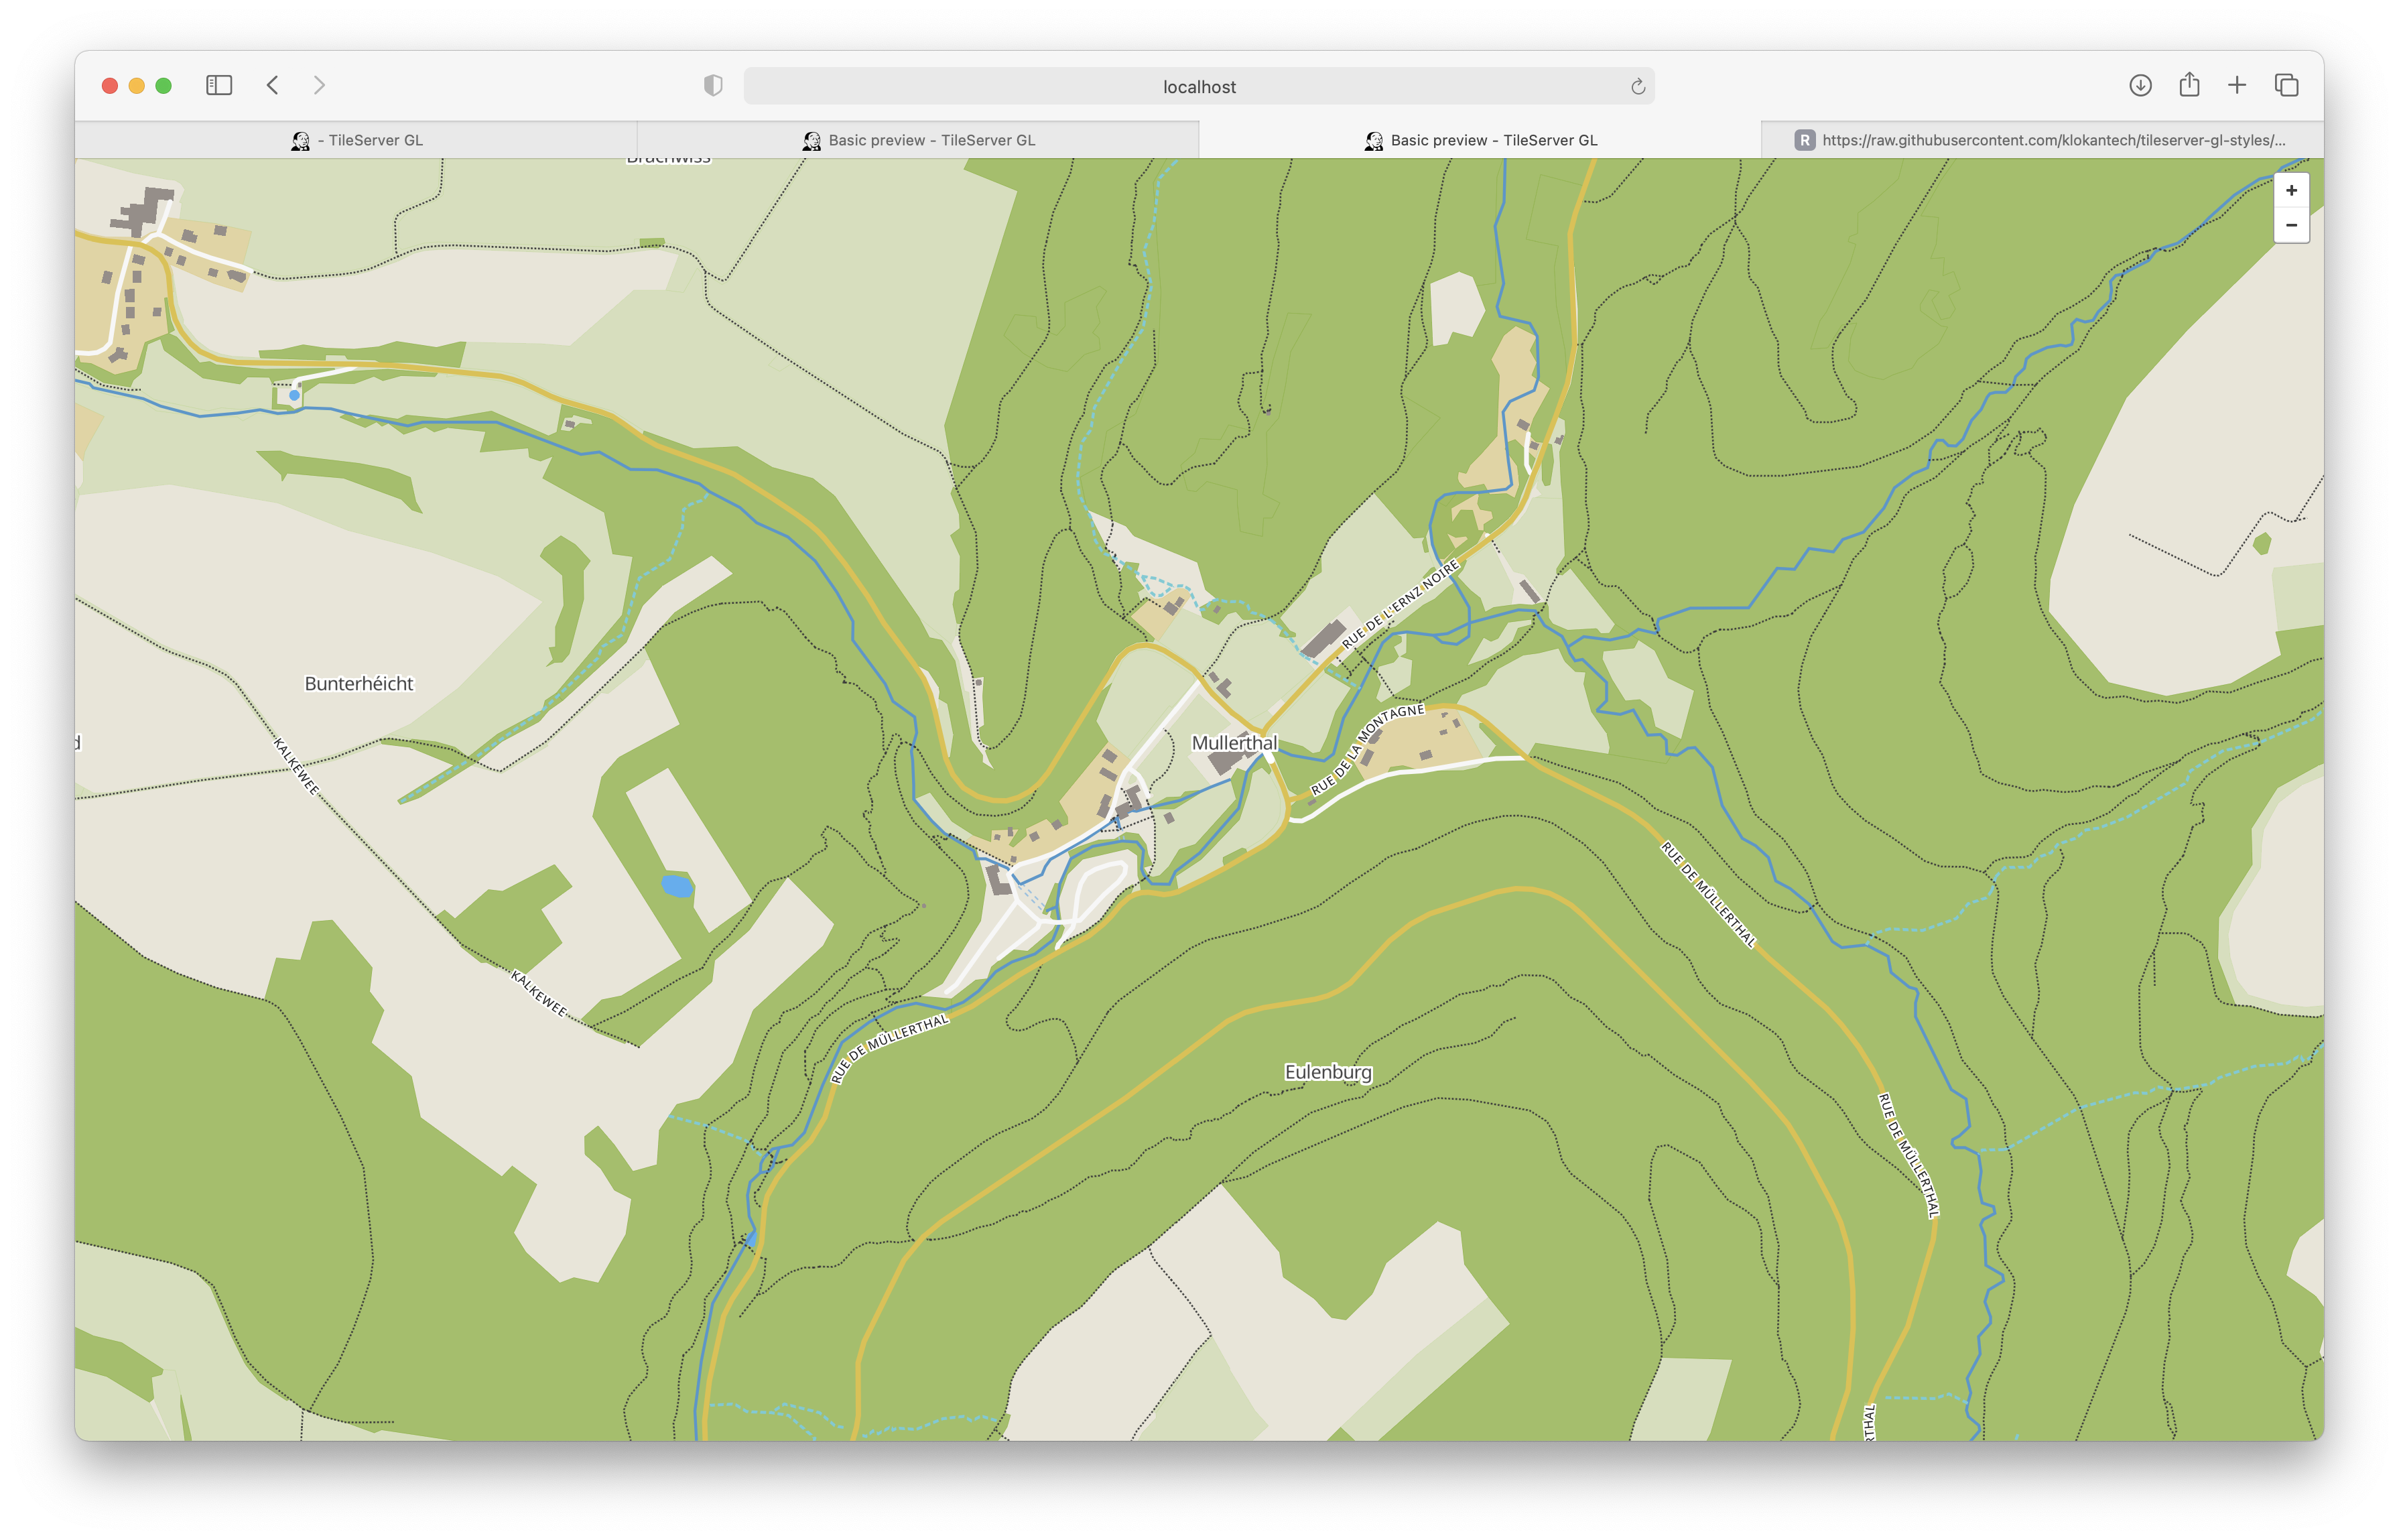
Comparison of style
The result is mainly increased contrast, and road colors.
Creating .mbtiles
Download openstreetmap data in the *.pbf format to your working directory.
- see: https://download.geofabrik.de
Download ocean shapefiles and extract the fiels to the folder ./coastline/ from:
- https://osmdata.openstreetmap.de/data/water-polygons.html “Format: Shapefile, Projection: WGS84 (Large polygons are split)”
Create an *.mbtiles file from the openstreetmap data ( *.pbf ):
time tilemaker/tilemaker \
    --input your-map.osm.pbf \
    --process ./tilemaker-osw-tiles-11-14.lua \
    --config ./tilemaker-osw-tiles-11-14.json \
    --output your-map.osm.mbtiles
Config Files
The biggest challenge of creating maptiles with tilemaker/tileserver-gl is the required memory.
I approached this by taking the original files and decimating them as much as possible to obtain “usable” maps and run times.
Performance of tilemaker-osw-tiles.*
These config files are based on the original tilemaker-openmaptiles.json/.lua from https://github.com/systemed/tilemaker/tree/master/resources.
Converting belgium-latest.osm.pbf with the original config files takes:
real    6m52.943s
user    44m29.355s
sys     1m0.178s
With tilemaker-osw-tiles.json/lua it is a bit quicker:
real    2m48.898s
user    7m29.045s
sys     0m14.416s
Converting germany-latest.osm.pbf with the original config files takes:
real    144m31.561s
user    337m33.332s
sys     578m57.424s
With tilemaker-osw-tiles.json/lua it is a bit quicker:
real	82m9.525s
user	426m54.306s
sys     60m43.066s
Converting germany-latest.osm.pbf required around 25GB of RAM. (more than 32GB with the original json/lua).
This is achieved by leaving out any pois/houses/gardens/… . The layers 4-14 are created.
Creating *.png tiles
Next step is to download all *.png tiles provided/generated by the local tileserver-gl.
You can do this by downloading them from localhost.
This will most likely result in thousands to millions of files.
Writing millions of tiles onto an SD card directly, one by one, will likely fail, as in my case, I broke a 128GB uSD card…
The recommended approach is to create a RAM disk and then dd the resulting image as a single write onto the sdcard.
HowTo - MacOS
Creat a RAM disk with a FAT32 partition.
# 4GB: 8388608
# 8GB: 16777216
# 16GB: 33554432
diskutil erasevolume fat32 'TILEDISK' `hdiutil attach -nomount ram://33554432`
Downloading tiles
To automate the downloading of the the tiles I wrote a nodejs script:
Next, download the tiles to you RAM disk.
Example (Brussels area, layers 13 to 17 (incl.)):
node get-tiles.js 4.21 50.76 4.51 50.95 13-17 /Volumes/TILEDISK/map/
Creating jobs
Adding jobs for layer 13
Adding jobs for layer 14
Adding jobs for layer 15
Adding jobs for layer 16
Adding jobs for layer 17
Will download 16530 tiles into  /Volumes/TILEDISK/map/
100 / 16530
200 / 16530
....
16530 / 16530
Use this tool to create the left, bottom, right, top coordinates of your desired rectangle of map data and zoom layer:
This also provides count/size estimations of the created png data.
Writing the partition to the SD card
For the next part I assume, you know what you are doing:
⚠️ First, find out which disk ist your SD card. ⚠️ ⚠️ If you get this wrong you will mess up your system ⚠️
You can check with:
df -h
Writing the RAM disk to your systems disk
In my case the RAM disk was /dev/rdisk5:
sudo dd if=/dev/rdisk5 of=/Users/paul/data/maps/TILEDISK
Writing the system from your disk to SD
In my case the sd card was /dev/rdisk2:
brew install pv # install helper, to monitor progress
pv /Users/paul/data/maps/TILEDISK | sudo dd of=/dev/rdisk2 bs=1024000
Mounting a previously crated Image
Mount the image:
hdiutil attach -imagekey diskimage-class=CRawDiskImage -nomount /Users/paul/data/maps/TILEDISK
Check the resulting output under which device the raw disk image is now available, and then mount it:
hdiutil attach -readonly /dev/rdisk3